Views
Working with a view
Once a view is active, it shows a navigation bar on the upper part of the screen and the working area underneath.
The navigation bar contains:
- Landing page
A click on the Home button opens the landing page again.
- Name of the view
Shows the name of the current view.
- Edit mode
A click on the cogwheel in the navigation bar enables or disables edit mode for a view. More details on editing views and widgets can be found in the section on editing a view.

- Start or stop configuration
Most use cases require an active configuration in ecu.test. To start the configuration, you can use the play button in the navigation bar of ecu.test lab.

Clicking on this button starts the ecu.test configuration that is configured for the current view. If no configuration is defined for the current view, the configuration currently selected in ecu.test is started.
- Start or stop live mode
Button to activate the communication between ecu.test lab and the test environment. If active, the values of the widgets are updated according to their configured acquisition rate.
To activate live mode, click on the LIVE button in the navigation bar. You can tell that the mode is active by the orange color of the LIVE button. Click it again to deactivate the live mode.

Widgets with automatic updates deactivated will not be updated in live mode. These widgets display a small button in the upper-right corner that you can press to request a manual update.
- Switching pages
A view may consist of multiple pages. They are listed at the bottom of the screen. Switching between pages allows quickly changing widget layouts without impacting the current test environment.
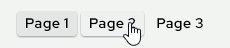
If the pages in the view are organized into two groups, the pages in each group appear under their respective section of the view. The relative sizes of the group sections can be adjusted by dragging the divider between the groups. The assignment of a page to a group can be changed in edit mode.
The work area shows the configured widgets. This area can be freely configured in edit mode.
Editing a view
Now you can rename the view and optionally set an ecu.test test configuration and test bench configuration. If you click on the Start config button after leaving edit mode, these configurations will be started in ecu.test. If no configurations are set, the currently selected configuration is started in ecu.test.

In edit mode, the size and position as well as the configuration of the widgets can be edited.
Changes within a page can be undone (Ctrl + Z) and restored (Ctrl + Y). A click on the Discard changes button discards all changes and exits the edit mode. A click on the Save changes button saves the current view and leaves edit mode.
Pages can be created, deleted, renamed or moved.
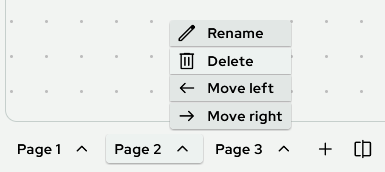
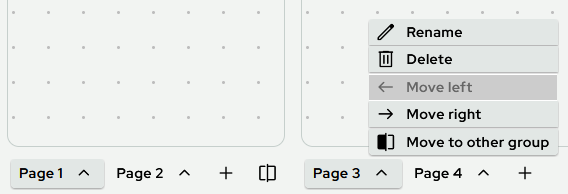
Clicking the Toggle split view button splits the screen into two sections, each displaying a group of pages. When activated, the currently selected page is assigned to the second group and displayed in the right section. By dragging the divider line between the two sections, you can adjust their sizes. When split view is active, pages can also be moved between the two groups via the context menu. Clicking the Toggle split view button again deactivates the split view and displays all pages in a single section.
New widget
|
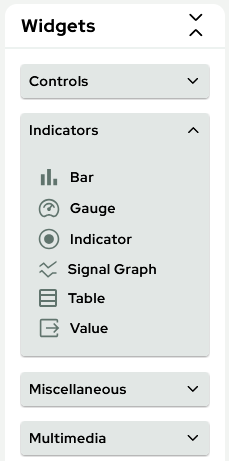
In the edit mode, a widget menu appears at the left side of the screen. See Widgets for more information about the widgets. To use one of the widgets, it must be dragged and dropped to the desired location on the work area. If the widget is dropped, the widget configuration opens. Once the new widget is configured and saved, the widget will be displayed in the desired location. |
Widget configuration
To configure an existing widget, you have to click on the widget. This opens the widget configuration side bar on the right side of the screen, where all widget-specific configurations can be changed.
Finally, the configuration can be confirmed with a click on the OK button, an empty area on the canvas or a different widget. If the configuration is not valid, an error message is displayed and the configuration side bar can only be closed by clicking the Cancel button.
Widget position and size
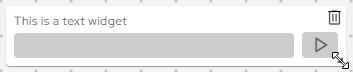
In the edit mode, the position of the widgets can be adjusted. Widgets can be placed along a grid. In addition, the size of the widgets can be adjusted. To do this, the lower right corner of the widget must be clicked and held with the mouse. Then, by dragging the mouse, the size of the widget can be set.
Copy widget
In edit mode, a widget can be copied using Ctrl+C or cut using Ctrl+X. Afterwards the widget can be pasted using Ctrl+V. The widget can be pasted on the same page, on other pages of the same view, and also on pages of other views. You can select multiple widgets at once by holding down the Ctrl key while selecting them.
Delete widget
Widgets can be deleted using the trash icon in the upper right corner. Alternatively, click the widget to focus it and then delete it with the Del key.
Sorting and structuring views
Views are displayed in a list on the landing page after they are created. When working with a large number of views, it can be helpful to organize them into groups.
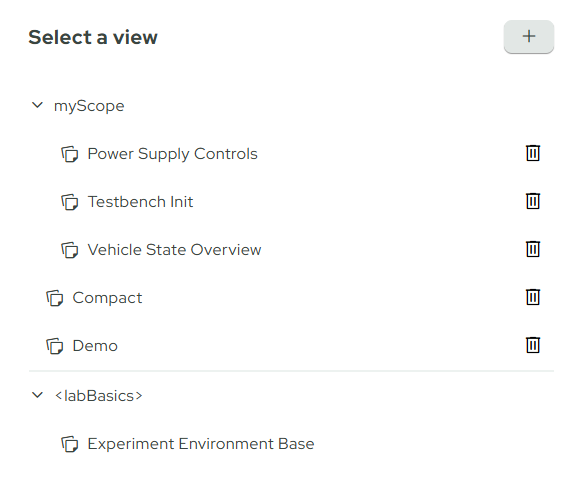
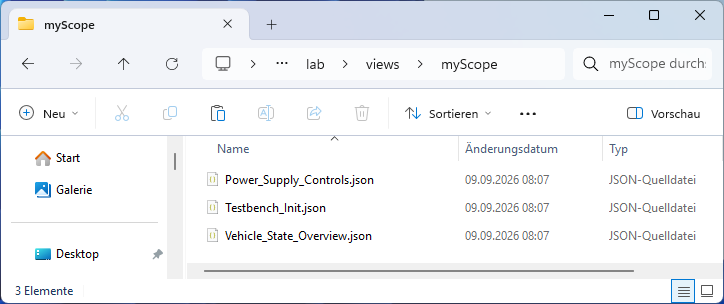
Currently, this cannot be done from the user interface. Instead, views must be moved to a folder in the file system named after the desired group. For a better overview, the JSON file of a view can be renamed as desired.